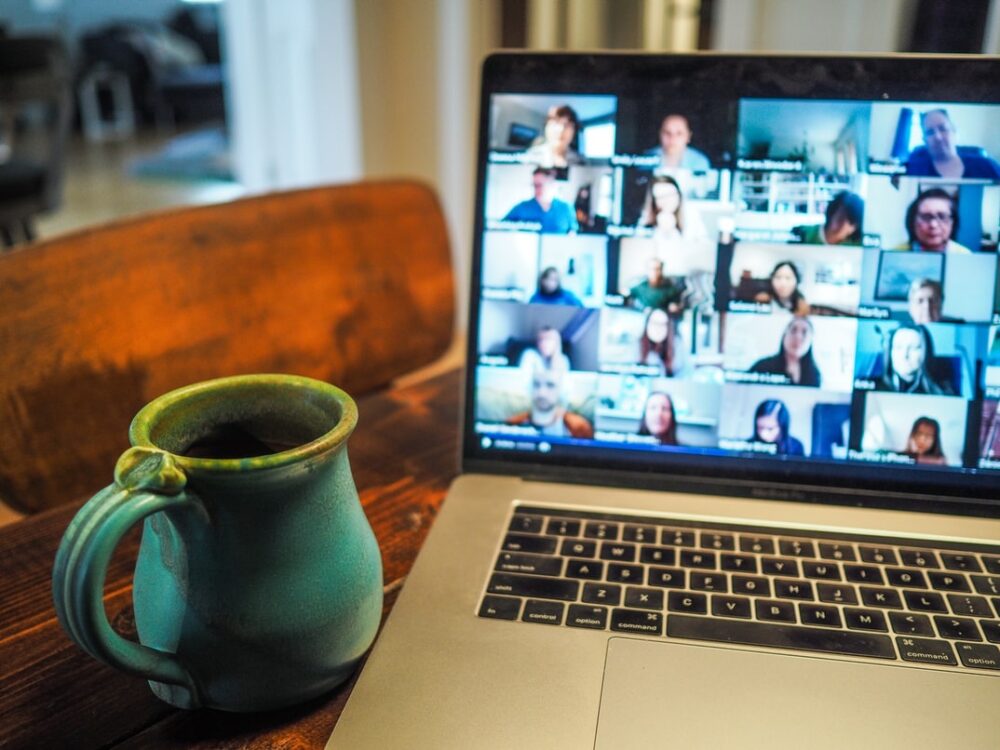
The onset of the pandemic has prompted a massive lifestyle shift. Nowadays, almost all of our daily tasks have gone online. We now hold meetings through video conference calls or take classes facing the computer screen. You might also be using video chat applications so you can keep in touch with your loved ones while practicing social distancing as well. Whatever it is, you may have already noticed that your laptop camera doesn’t mainly make for an excellent camera. Of all things, it’s often pixelated and blurry, which leads to unflattering angles and displays.
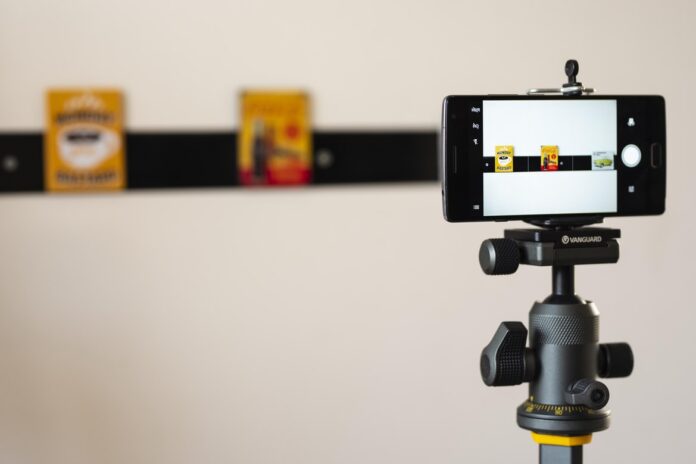
Fortunately, there are a few ways you could go about solving this problem. The most obvious choice would probably be that you should buy a new webcam, but they tend to be out of stock most of the time. You can also recycle a smartphone you haven’t been using for a while (if you have one) and use that as a webcam alternative as well. Maybe that can be at least a tad better than your laptop’s camera. If you used to get too busy in your meetings and have to be present at every seminar, you can do video conferencing by using your DSLR rather than the webcam. Webcam results comprise less than DSLR resolution. This will helps to continue your presentations and webinars in better video quality without any interruption.
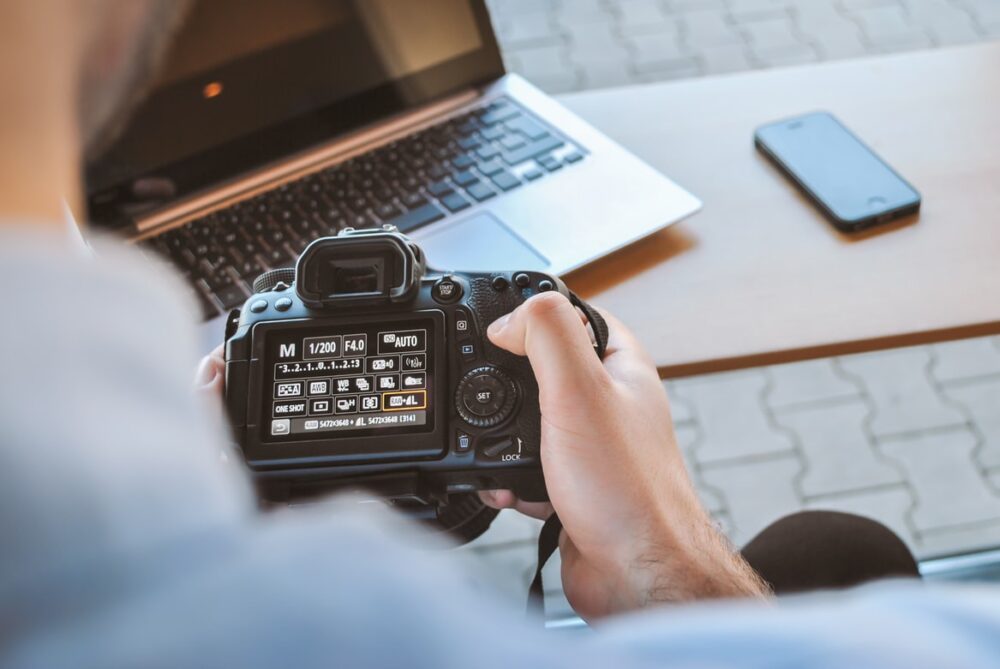
However, if you want to take your video conferences up a notch, a cool option is that you could use your DSLR as a webcam as well. This way, you can have the best-looking display and a high-quality camera at the same time. Here, we will discuss how to use DSLR as webcam through the information listed below.
How your DSLR works as a webcam

Using your DSLR as your webcam is a relatively easy process to follow. It can be as simple as installing software or just plugging a USB cable to hook your camera onto your computer – that is, depending on the type of computer and camera you have.
If you have a modern DSLR camera and a Windows operating system, you will find it convenient that there’s now an available app that allows you to connect your camera to your laptop or pc. Software solutions are also applicable for other cameras, including Macs; however, they tend to require virtual webcams that, unfortunately, don’t work on some applications like Zoom.
Because of this, the easiest method to take will have to involve spending a bit of money. This is because most people will require additional hardware that enables a camera’s HDMI to be converted into a USB input, called USB capture cards. The only downside is that they can be adamant to find in stock but are proven and tested.
You will also be needing an HDMI cable that can easily plug into your camera. Once this is done, you have to enable the “Clean HDMI” output, which will allow you to remove all of the camera exposure information, thus giving you a clear video feed. This can be done by toggling an option in your camera’s settings menu or simply putting it on camera mode. Either way, there may be different ways to do it depending on your type of camera, so it’s best to consult your camera’s manual to know how to go about it. You can also test your webcam here, so that you can make sure that it’s already connected and working properly.
One who have keen interest in using Youtube or to make videos just for his fun will definetly require a good camera for better results. Your laptops and Personal computers are built in with webcams but their footage results will be compromised. In today’s era, it becomes necessary to talk and watch your friends and family by sitting so far. But if you want to get rid of from low quality webcam, move on to a new DSLR which does not only provides you a coverage with better and high quality but you can also use it for live streaming, baby monitoring and home security systems. You can also switch to a DSLR for taking passport pictures or any profile pictures. This will helps you to make your content proficient and professional.
Position your webcam nicely

Of course, you’d also want to mount your camera for a great viewing angle whenever you have your routine video calls or conferences. For this, you can use a tripod. However, if you want to position your camera above your monitor like a traditional webcam, the process can get pretty complicated. While this is so, there are available clamps and mounts that you can purchase to help affix the camera to your desired position – but depending on your situation, you’ll have to figure out the best way to make it work. To avoid any inconveniences learn properly how to place your webcam accurately.
Use an A/C adapter

Since you’re using your DSLR as a webcam, this means that you’re going to be streaming video to your computer for long periods. Because of this, you’re probably going to have to buy an A/C adapter to power your camera instead of depending on its batteries. You’ll also have to disabled automatic power shut-offs or other features in your camera that you might think will get in the way of your video calls. To get more acquainted with these, consult your camera’s manual.
Bottom line
Once you successfully have all the parts and get through the things that you should follow, you’ll be able to have your DSLR camera nicely set up as your new webcam. The process is as simple as plugging the cable into your camera, doing the same thing to your capture card, and then plugging that into your computer where you can turn your camera on afterward. The Mac and Windows operating systems will immediately recognize your DSLR as a webcam and will now be available in apps like FaceTime, Zoom, or Google Meet.


