
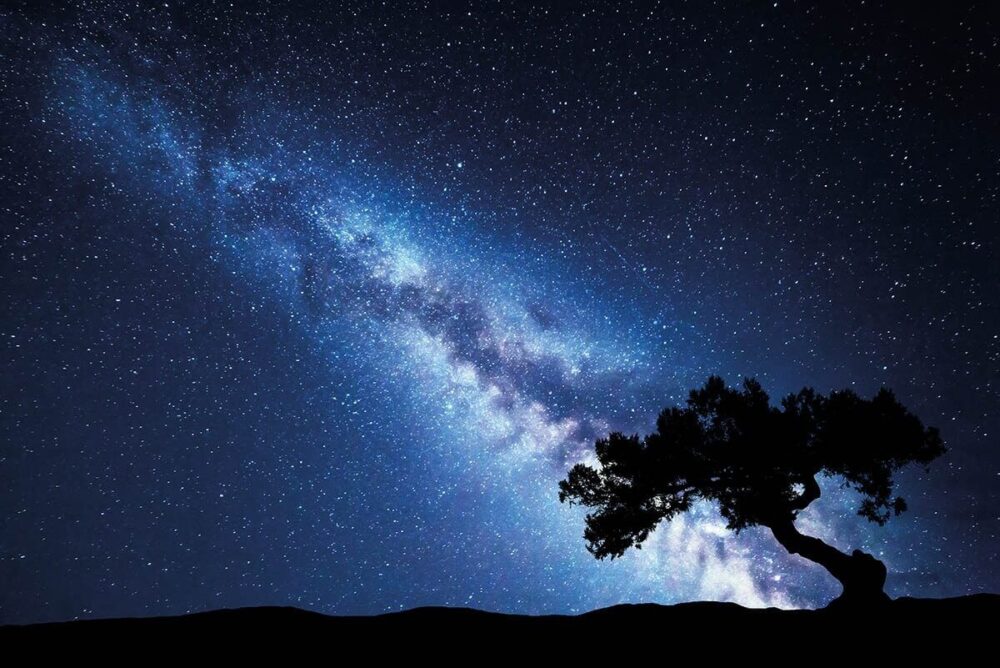
In this article, we’ll introduce you and your camera to space. We’ll tell you what it takes and what makes up the perfect shot. It is worth noting that this is not a complete guide, but only an introductory necessary theory, like a good outline of a large lecture. After all, working with space is a separate direction, which has a lot of subtleties and nuances. Nevertheless, the material is enough to begin photographing the stars and there is a little more than “put the camera on a tripod and point it at the sky. Also, you can read how to find the Milky Way on Skylum`s blog!
It’s worth noting right off the bat that the material is based on data from professional SLR and mirrorless cameras. Of course, everyone has already been able to appreciate the examples of pictures on the camera of the Huawei P30 Pro smartphone. It is said that seeing the Milky Way has never been easier!
Briefly about the equipment
Every photographer likes to chat about the lenses or “tubes” he has, but in the end, by studying someone’s work, you will form your own impression by looking at the pictures. It’s worth mentioning that the decisive role is still played by a person, but there are also minimum requirements for equipment.
Tripod
Tripod is the basis of your work. You should keep in mind that you often have to mount your camera on an uneven surface, and it must stand motionless. To do this, you need a sturdy tripod with flexible settings and reliable components.
If the camera suddenly deviates even a millimeter, your frame will not get a clear shot, and to get ahead of the curve the camera has to stand still for quite a long time. So look out for solutions with a sturdy ball head.
Camera
The minimum requirement for a camera is the ability to manually adjust:
- aperture;
- shutter speed;
- ISO.
Ideally, it should be a full-frame camera, which means a full-size sensor, not a cropped one like in your smartphone.
Lens
In terms of minimum requirements, you’ll need a minimum aperture of 4 or less. This figure is responsible for the ability to capture more light, ideally, you should have a lens with f/2.8 or less. Even better if you’re working with a wide angle, say 14-24 mm. Here, the bigger, the better. You get the perfect 24 mm and f/1.4 gear.
Additional Equipment
The first thing you might need is an intervalometer that connects to your camera and triggers the shutter. This will allow you to have shutter speeds longer than 30 seconds and will not have the problem of the camera jerking when you manually release the shutter. The star tracker is an optional but very necessary item. The device attaches to the tripod and holds the camera on itself, moving it along the way. This is done to compensate for the movement of the stars. Thanks to this, you can set a fast shutter speed and not be afraid to get a blurred picture.
Preparations
A good shot depends on three main things:
- settings;
- the subject;
- the photographer’s hands.
In our case, the first two points have to be taken care of in advance. It’s best to look at the scene during the day. You need to know what kind of background you want to get in the frame, so as not to run with a camera and tripod in the dark.
What was the last word? Darkness! The city emits a lot of light noise. Have you seen our cities at night from an airplane? Then more houses, then more light. If you chose a local park as your location, you’ll have to knock out all the light bulbs in the area, because at slow shutter speeds all that light will rush into your lens and then into your frame.
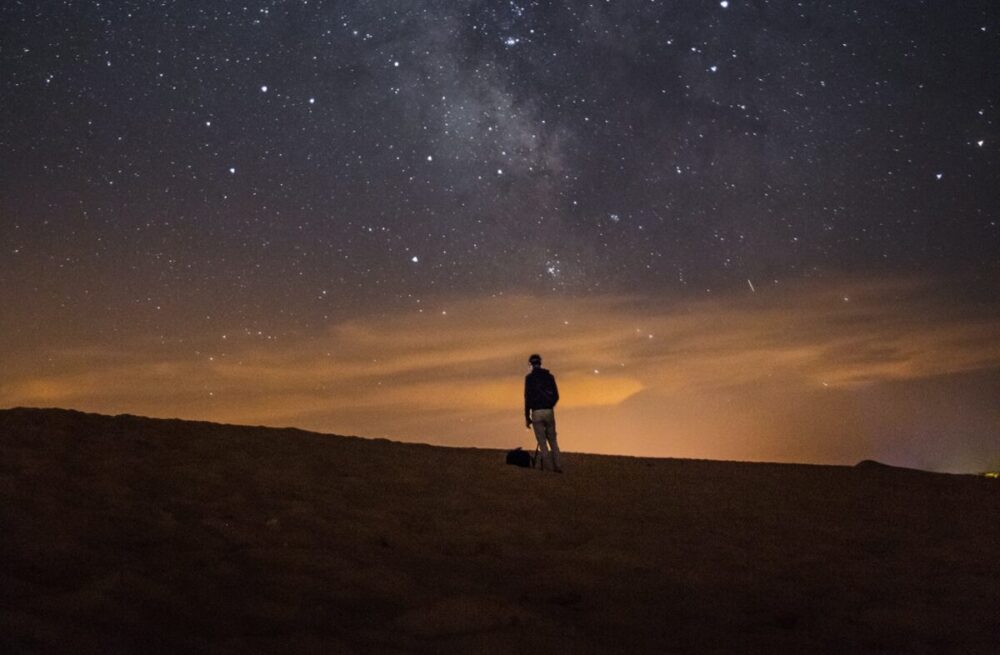
Let me remind you that our target is seeing the Milky Way. It’s worth taking care of its positioning beforehand. You will not be able to move it, but you can find out on the Internet about its position in relation to the intended location. Don’t forget to check the weather. Through the clouds, the stars are not visible, including the camera. And remember that the moon gives off too much light. It’s best to get out on a photo hunt as close to the new moon as possible, somewhere within a week before and after.
Focus

What is this nonsense? You say when you see the title of this section. But you know that the stars are quite far away, and you can’t see many of them in the viewfinder, so how do you focus on them?
You have to set the focal length during daylight hours — the longer, the better. Let’s say you set the maximum focus distance to 24 mm. What next? Now you aim at something far away. We’re not talking about a couple of meters, but rather tens of meters. You can use autofocus, the main thing to do is to frame and make sure that the result is sharp enough, for this you have to bring the finished image at least twice. Once you are done, it is worth fixing the parameters and using them in your work. Keep in mind that if you change the focal length, you will have to do the operation again.
To summarize
Now you know what you need to do to take a picture of the night sky to be perfect! You can read about how to find the Milky Way on Skylum’s blog. There are many helpful articles there to improve your photography skills.


