
Portrait photography is an art that captures the essence of a person, and when it comes to indoor portrait photography, lighting plays a crucial role in shaping the mood and quality of the image. One of the most versatile tools at a photographer’s disposal is the flash. Using it for indoor portrait photography can transform an ordinary shot into a masterpiece, but it can also be a source of frustration if not used correctly.
The flash can illuminate your subject, highlight important details, and even create dramatic effects. However, using it indoors also presents challenges. The flash’s light can be harsh, causing overexposed spots and harsh shadows. It can also result in red-eye, a common problem in this form of photography. But fear not, this blog post will guide you through the process of using this light for indoor portrait photography, helping you overcome these challenges and harness the power of flash to create stunning portraits.
Understanding the Basics of Flash Photography
Before we delve into the specifics of using flash for indoor portraits, let’s cover some fundamental concepts. Flash sync is the maximum shutter speed your camera can use while still fully exposing the image sensor to the light. It’s typically around 1/200th of a second for most cameras. Its power refers to the intensity of the flash’s light, and the duration is the length of time the light is on.
There are various types of equipment available, including built-in camera option, external on-camera flash, and off-camera one. Each has its own advantages and disadvantages, which we’ll discuss in the next section.
Choosing the Right Flash for Indoor Portraits
Built-in camera flash is convenient and always available, but it’s also the most limited in terms of power and flexibility. It can result in flat lighting and harsh shadows, especially if used directly on the subject.
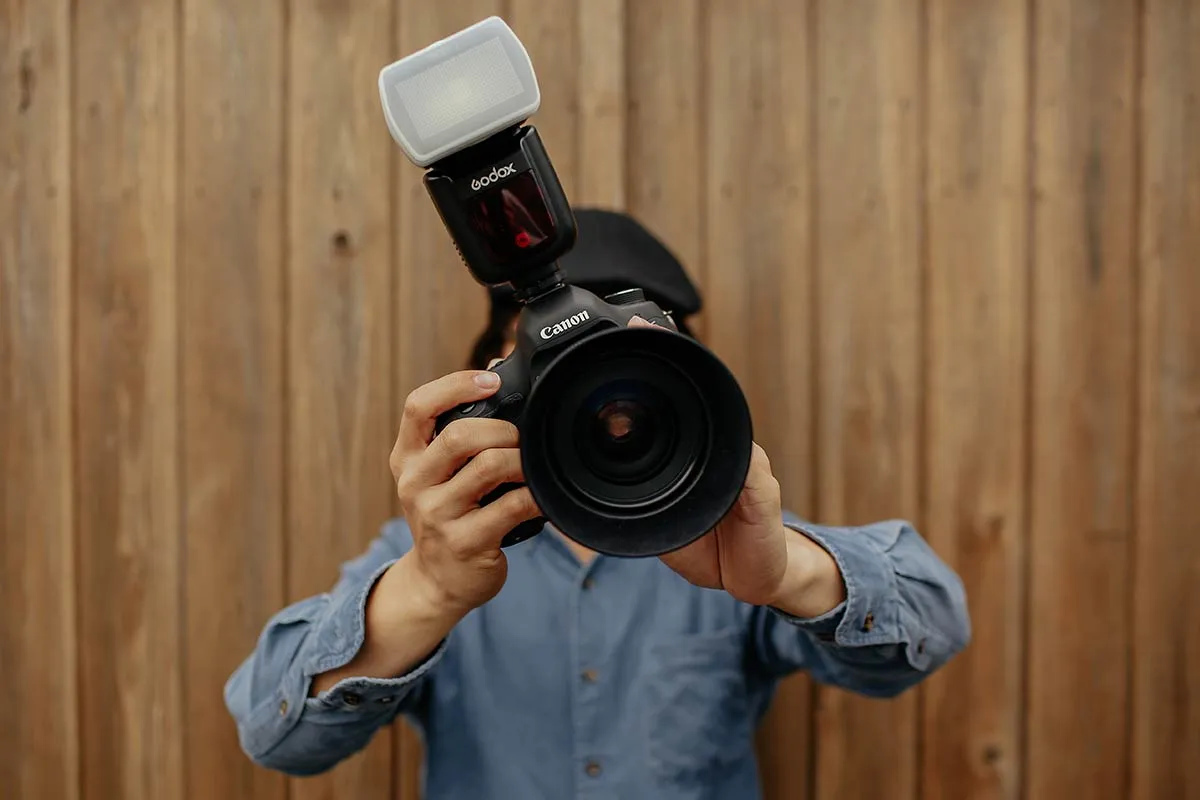
External on-camera type is more powerful and flexible. It can be tilted and swiveled to bounce the light off walls or ceilings, creating softer, more flattering light. However, because it’s still attached to the camera, the lighting direction is somewhat limited which isn’t an issue for professionals such as Franci Neely but it could be for newbie photographers.
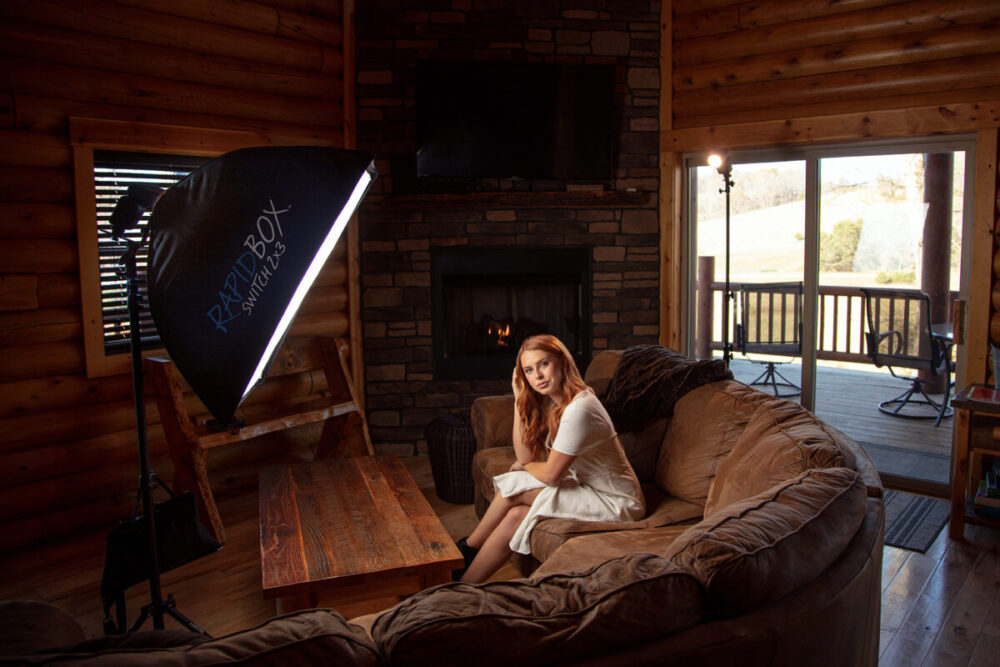
Off-camera flash offers the most flexibility. It can be placed anywhere, allowing you to control the direction and quality of light. However, it requires additional equipment, like light stands and triggers, and more setup time.
Mastering Its Exposure and Settings
Proper flash exposure is crucial for indoor portraits. Flash compensation allows you to adjust its power to avoid overexposure or underexposure. TTL (Through The Lens) mode lets the camera and light work together to determine the correct power, while manual mode gives you full control over the light power.
The flash-to-subject distance also affects its exposure. The closer it is to the subject, the more powerful it will appear. Conversely, the further the flash is, the weaker the light will be.
Understanding Light Modifiers
Light modifiers shape the light to create different lighting effects. Softboxes and umbrellas diffuse the flash, creating softer, more even light. They’re great for reducing harsh shadows and creating flattering light for indoor portraits. Diffusers spread out the flash’s light, reducing its intensity and softening shadows.
Controlling Ambient Light and Balancing with Flash
Balancing ambient light with flash is a crucial aspect of creating natural-looking indoor portraits. The ambient light, or the natural light in your environment, can be controlled by adjusting the camera’s shutter speed. A slower shutter speed allows more ambient light to enter the camera, creating a brighter image. Conversely, a faster shutter speed restricts the amount of ambient light, resulting in a darker image.
Positioning and Bouncing Flash
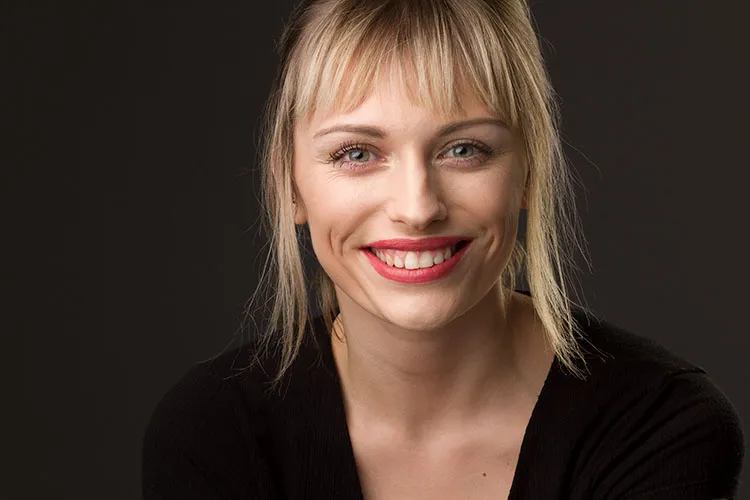
The position of the flash significantly affects the direction and quality of light, and consequently, the overall look of your portrait. For instance, placing it to the side of the subject creates side lighting, which adds depth and dimension to the portrait, enhancing the subject’s features. Another technique is bouncing the flash off walls, ceilings, or reflectors. This creates indirect light, which is softer and more flattering than direct light. It reduces harsh shadows and gives a more natural and professional look to your indoor portraits.
Reducing Harsh Shadows and Red-Eye
Harsh shadows and red-eye can detract from the quality of your indoor portraits. To minimize harsh shadows, you can use a technique known as fill flash. This involves using a lower-powered flash to fill in the shadows without overpowering the main light source, resulting in a more balanced and pleasing image. Red-eye is another common issue in this form of photography. To eliminate red-eye, you can use a red-eye reduction mode if your flash has one.
Creating Dramatic Lighting Effects
Flash can be used creatively to create dramatic lighting effects that add a unique touch to your indoor portraits. For example, you can use a technique called rim lighting, where the light is placed behind the subject to create a “rim” of light around them. This technique adds depth and separation between the subject and the background, creating a striking visual effect. It highlights the contours of the subject’s profile, adding a dramatic and professional touch to your portraits.
Tips for Working with Subjects
Communication is key when working with subjects. It’s important to ensure they’re comfortable in front of the camera and understand what you’re trying to achieve with the lighting. Explain your vision to them, and guide them on how to pose to complement the lighting setup. This not only helps in achieving the desired result but also makes the subject feel more involved and at ease, which will reflect positively in the final portrait.
Post-Processing for Flash Portraits
Post-processing is an integral part of flash photography. Once you’ve captured your indoor portrait, you can use editing software to adjust exposure, contrast, and color balance to enhance your photos. These adjustments can help to correct any minor imperfections and enhance the overall look of your portrait. You can also use software to remove red-eye and soften harsh shadows, further improving the quality of your image. Post-processing allows you to fine-tune your images and bring your creative vision to life.
Practice and Experimentation
Finally, the key to mastering flash photography for indoor portraits is practice and experimentation. Try different setups, play with its settings, and don’t be afraid to make mistakes. With time and practice, you’ll develop your unique style and become proficient in using flash for indoor portrait photography.


