Introduction Blending artistry with function, heat transfer on wood offers an avenue to transform mundane wooden pieces into expressive artifacts. Thanks to the specialized transfer paper for wood, this fusion of design and material is now accessible to all. In this exhaustive guide, we unravel every facet of this process, ensuring that each step you take results in unparalleled craftsmanship.
Part 1: Essential Preliminaries – Quick Q&A
- Which paper stands out for wood-based transfers? Beyond doubt, heat transfer paper, purpose-built for wood, emerges as the unrivaled choice. This paper’s engineering ensures that vibrant and sharp images get transferred impeccably onto wooden surfaces.
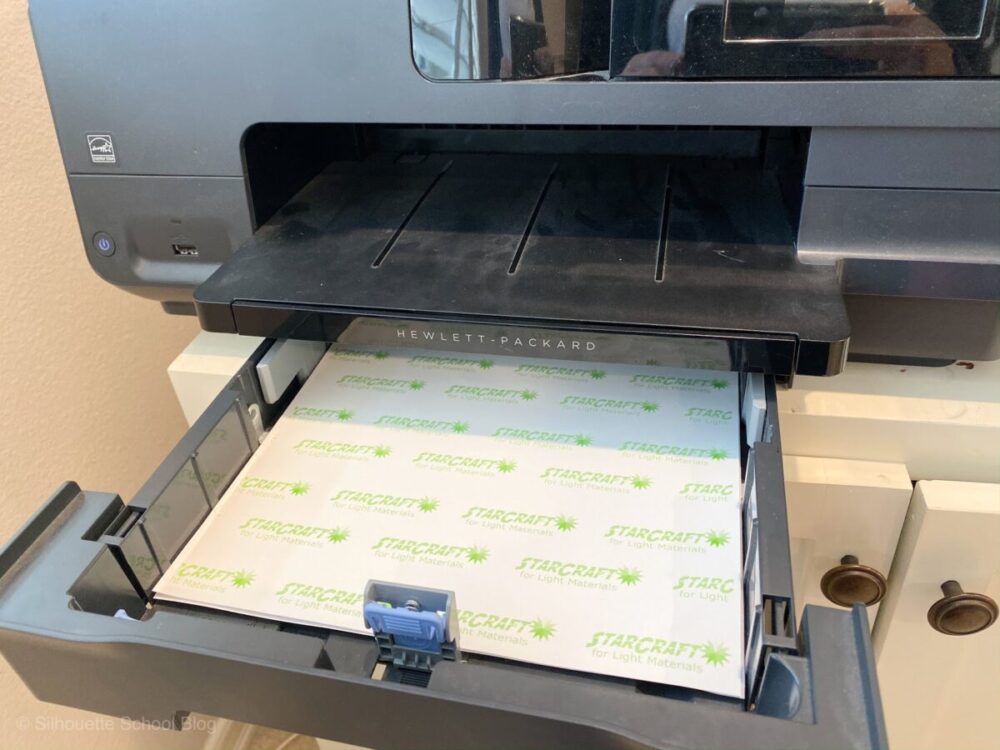
- Which printer is my best bet for wood designs? Precision is key. To that end, laser and inkjet printers stand tall as the champions for this endeavor. Their ability to reproduce designs with impeccable clarity ensures that every transfer is a masterpiece.
Part 2: Curating Your Transfer Toolkit
A flawless transfer demands impeccable tools. Here’s your essential checklist:
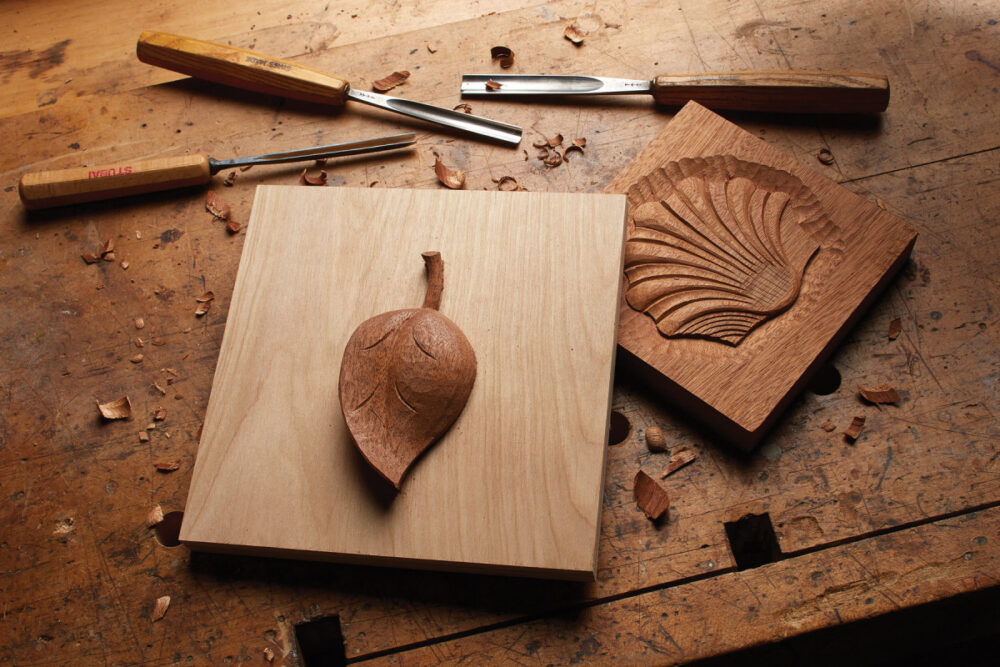
- Choice of Wood: The wood acts as your canvas. While any piece can be chosen, smoother, pre-sanded wood ensures your design truly shines.
- HTVRONT Transfer Paper: Do not compromise. Premium heat transfer paper ensures longevity and brightness.
- Printer Health: Your printer, be it laser or inkjet, should be in optimal condition. Regular maintenance ensures quality prints.
- Heat Press/Iron: Professional heat press machines are ideal, but a strong household iron can be equally effective if used correctly.
A Comprehensive Guide: Transferring Your Vision Onto Wood
- Design Development: Begin by choosing a design that resonates. Whether it’s a graphic, a quote, or a photograph, ensure it aligns with your envisioned end product.
- Precision Printing: With your design ready, print it onto the transfer paper. Ensure that printer settings are optimized for the best output.
- Prepping for Transfer: Position your printed design face down on the wood. It’s essential to avoid any movement during transfer, so use heat-resistant tape for a firm grip.
- The Art of Transfer: This pivotal step demands perfection. If using a heat press, sustain a temperature of 320-338 °F, pressing uniformly for 10-15 seconds. For iron users, employ the cotton setting, ensuring you distribute pressure evenly.
- Revel in Your Creation: After the transfer, gently lift the paper. What remains is your vision, immaculately imprinted on wood.
Deep Dives:
- Design Considerations: Beyond mirroring, consider factors like color schemes, contrasts, and how they interact with the wood’s natural grain. A harmonious blend can result in truly mesmerizing pieces.
- Wood’s Role: Different woods absorb heat differently. Hardwoods like oak or maple may require slightly more heat or time than softer woods like pine.
- Post-Transfer Nurturing: Allow the piece to rest post-transfer. This ensures that the design sets in, minimizing any risk of smudges.
Part 3: Beyond the Basics – Expert Tips
- Material Quality: Your final product is only as good as your raw materials. Invest in high-quality wood and transfer paper.
- Workspace Organization: A clutter-free, well-lit workspace can make the process smoother. Ensure all your tools are within arm’s reach.
- Continuous Learning: As with any craft, practice makes perfect. Experiment with different designs, woods, and techniques to discover what works best for you.
Final Thoughts
Heat transfer on wood is a delicate dance between art and technique. Each step, when executed with care, can culminate in a piece that’s not just visually striking, but also deeply personal. As a canvas, wood offers warmth and texture, and mastering the art of transfer allows one to enhance its natural beauty further. With the insights from this guide, embark on a journey of creativity, transforming plain wooden surfaces into cherished keepsakes or showpieces.
References: For those who prefer visual learning, this comprehensive video tutorial serves as an excellent companion to our guide, illustrating each step in detail.


