
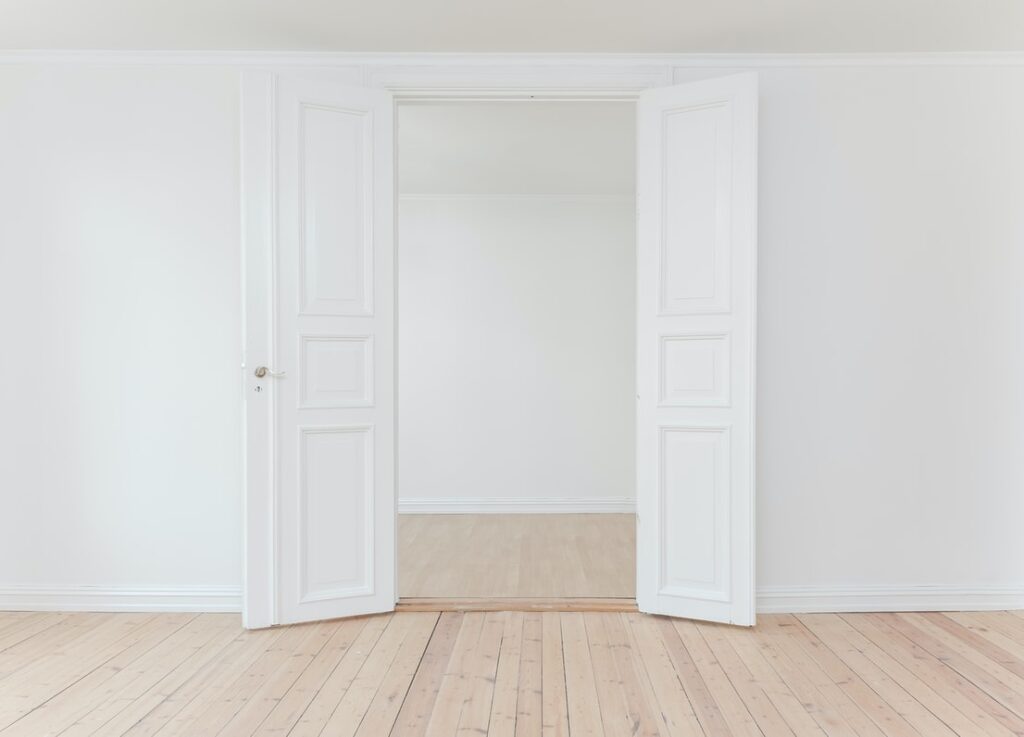
Painting the inside of your home is a simple, straightforward, and relatively cheap way to dramatically improve the aesthetics and ambiance of your interiors. With proper planning, budgetary estimates, and ventilation – use suitable materials to absorb paint fumes – your home painting project will be a breeze.
Whether you plan to DIY this project or employ painters, here are six tips and considerations when painting your home.
1. Plan Your Painting Strategy
This step includes choosing a timeline, planning a schedule, and setting deadlines. Many homeowners find that painting is a relatively painless task–– most neutral-colored patches can be completed in a few hours, while darker colors or tints often take up more time. Budget more time than you think you will need, and do not forget to account for prep time and cleanup.
Note the number of walls to paint and their dimensions to estimate the amount of paint and time you might take to paint and apply the finishing coats. Inspect your walls for any cracks or blemishes that need repair.
Smooth down old bits of paint with sandpaper and wipe down your walls with a damp sponge to get rid of fine dust. It is important to gather some useful tips about home decoration before you begin painting your home.
2. Choose Your Colors
Endless browsing through fan decks can be a hassle, especially if you walk into a shop with no ideas about color or texture. It is beneficial to visit the store with at least a vague idea about your color palette and a couple of ideas about the final look.
Consider the elementary characters of color: do you want warm colors or cool colors? Neutral color or vibrant color? If you prefer to retain your existing furniture, consider how the new shades will complement the fixtures and lighting in your rooms.
Some companies offer their potential customers adhesive swatches of their favorite shades to test them out. Remember to see how the colors look in natural light at different times of the day.
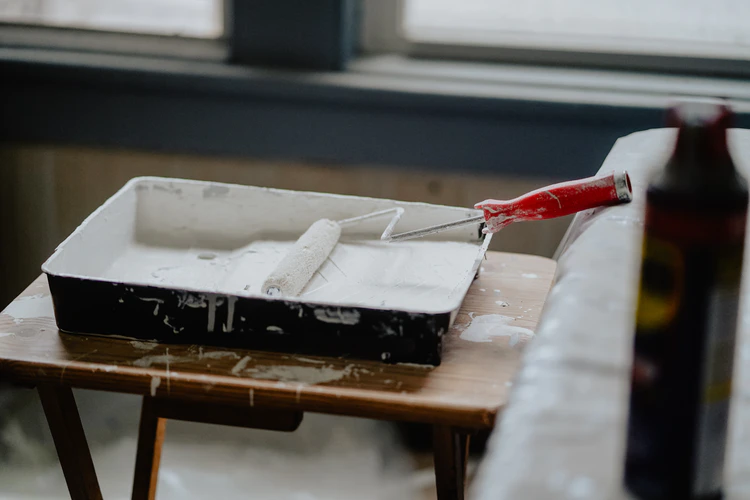
3. Gather Your Tools And Hardware
Spend sufficient money on acquiring the appropriate painting tools and equipment. Needing to stop in the middle because of a lack of supplies can be frustrating and throw you off schedule.
Some professional painters do not carry their own stepping stools or protective tarps. Talk to your contractor and gather the essentials before they get started on the painting.
If you are opting to DIY your painting projects, consider adding the following items to your shopping list:
- Extra paint cans
- Painting rollers
- Few rolls of painter’s tape
- Painting rags
- A paint roller extension pole or stepping stool
- Canvas drop cloths (or plastic)
- A varied set of paintbrushes
- Paint trays
- Sheets of sandpaper
- A Pair of Work gloves
- A dust mask, if you are allergic to paint smell or dust in general
4. Estimate Your Painting Needs
Make a rough estimate of how much paint you are going to need. A popular rule of thumb is one gallon per 400 square feet. Many paint calculators are available online; these can help you arrive at a close estimate. You can ask the paint shop for recommendations after disclosing the dimensions of your walls.
If you choose to employ professionals, they can make exact deductions on the amount of paint and supplies needed after a visit.
If you are painting a wall in a darker shade, you will likely require multiple coats for the actual color to show. Make changes to your time budget and make sure to get specialized finishing for these darker shades. Whitewashing a dark-colored wall will also require several coats.
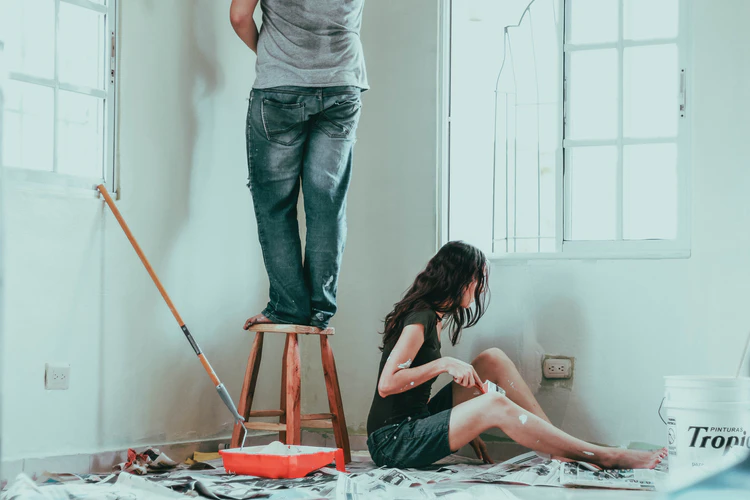
5. Prep Your Rooms
Secure doors, doorknobs, windows, lighting fixtures, and railings with plenty of painter’s tape or plastic wrap. Painting is so much easier in open spaces where you can move around freely.
When you set out to paint your living room, move your furniture and fixtures into the bedrooms if you can manage it. Otherwise, you can move the furnishings to the middle of the living room and cover it with a drop cloth.
Ventilation is one of the most significant aspects to consider when painting your interiors. Ensure that your rooms have good ventilation throughout the painting process: open windows, keep the room warm and use fans.
Small spaces like the loft do not have sufficient natural ventilation, and the fumes from the paint can prove harmful when inhaled for a long time. Consider an oxygen concentrator sieve bed material from jalonzeolite.com to absorb these fumes.
6. Choose Your Finish Carefully
The finishing that you give your wall will determine its durability and gloss. Ideally suited for drawing rooms, high gloss paint finishes give your walls a clean, smooth shine, allowing for a hassle-free clean-up and easy maintenance.
The potential downside with glossy finishes is its tendency to highlight defects and imperfections in your walls.
Flat paint is on the other extreme of the finishing spectrum. While this paint perfectly conceals any flaws in the walls, it is highly susceptible to damage.
The ideal middle ground is an eggshell finish. While still providing a good amount of gloss, blemishes on these walls are still easier to clean. It also does not highlight imperfections in the wall as boldly as glossy finishes.
Conclusion
Do not forget to clean your walls thoroughly and apply a coat of primer before proceeding with your paint job. Painting can be a fun and cheap project that will give your home’s interiors an immediate and personalized enhancement.
Organize your work and remember to dedicate a good amount of time to the process. Whether you employ professional painters or DIY your way through this, these tips can make the work systematic and more efficient.


")


